A good coat of bottom paint protects your boat, keeps her moving through the water fast, and saves you fuel, money, and work cleaning your bottom throughout the season. But it’s a lot of work to do yourself, and can be expensive and messy if you do it wrong.
You might also be interested in: How to Buff a Boat | A Detailed Guide by a Boating Expert

Check your bottom paint
When your boat comes out to be painted, get the bottom power washed by the yard, or do it yourself if you self-haul or use a trailer. Be aggressive with the power washing, since you want to knock off every scrap of slime and marine growth.
If aggressive washing knocks off loose paint or paint is chipping and peeling, try to chip and flake more off on the edge of the peeling spot with a scraper or knife. If it comes off easily, you’ll have to strip the existing paint before re-painting.
Pick a Paint
Bottom paint comes in wide varieties, and you need to pay close attention and not just grab the first can you see on sale. If you don’t make the right choice, you waste your money on something that doesn’t work well or worse, doesn’t stay on your boat after you apply it.
About antifouling paint
Antifouling paint comes in a few types – soft ablative, harder hybrid copolymers, and hard paints. Ablative and co-polymer paints slowly leech a toxin that prevents marine growth over the life of the paint. As the boat moves through the water, the paint “self-polishes” and releases more antifouling.
Ablative paints slough off to release the antifouling, but copolymer paint stays on, so it may build up more. Hard bottom paints are popular with sailboat racers and boaters who don’t store their boats in the water.
Which type you choose depends on how and where you use your boat, when you are painting and re-launching, and what you already have on your bottom. Cruisers and weekend boats are concerned less with high-performance use ablatives.
Co-polymers are also popular with cruisers because they last longer, but they’re more expensive. Like the hard paints that racers use, they can be lightly sanded for better performance.
Matching and mixing
Usually, softer paints can go over hard paints, but harder paints can’t go over soft. Or they may specify sanding, priming, or stripping before painting over. The only way to know for sure is to check the manufacturer’s compatibility documentation.
The easiest way to guarantee 100% compatibility is to use exactly the same type of paint every time. But this isn’t always possible, as availability and laws sometimes change what you can use. So be very careful if you have to change paint brands or mixes, and know you can ensure compatibility.
Get local information
Ask around to find out what other boaters in your area use. Some types of paint are better on certain types of growth, and you may find that some brands or products work much better in your locale.
Color choices
Color rarely matters and is a matter of preference. But if you’re painting over an old bottom job, consider changing to a different color. That way, if the old color shows through, you’ll know it’s time to paint again. Certain bright colors are only available in more expensive paints.
Tools and Supplies
Once you know what bottom paint you need, it’s time to gear up with the supplies for this messy job. Some tools you will need for this include:
- Bottom paint. Estimate your bottom size and check the paint label for coverage information.
- Roller pan and pan liners
- Paint roller handle with extension
- Solvent-resistant roller covers. House paint roller covers are not adequate.
- Rags and cleaning pads
- Solvents and paint thinner
- Random orbital or rotary sander
- Shop vac
- 80-grit sanding discs
- Tyvek protective suits (and booties)
- Eye protection
- Dual cartridge respirator
- Paint buckets
- Stirring stick
- Paint stirrer for use with electric drills
- Paint brushes
- Drop cloths
- Masking tape
- Ladder
Preparation is everything
The key to a lasting paint job is preparation, and it can be more work than the actual painting. You need a surface ready to accept paint that the paint can bond to.
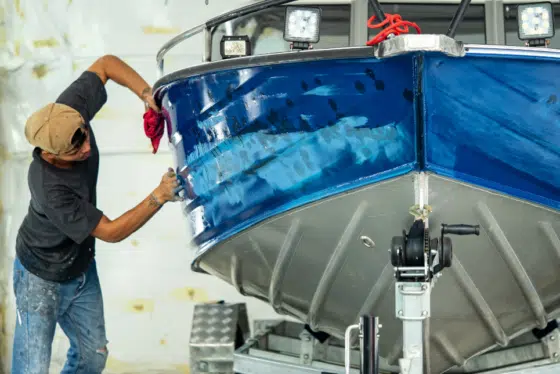
De-wax New Hulls
If your boat is new, you’ll need to remove any trace of the mold wax on the hull. Carefully wipe the bottom with a Volatile Organic Compound (VOC) stripper like Pettit’s Dewaxer D-95 or Interlux Solvent 202. Use clean rags and turn frequently to avoid smearing the wax around instead of removing it.
Strip Bad Paint (optional)
If your existing paint is flaking off, fresh paint will not stay on. You will need to either sand or chemically strip the old paint off. You may just sand off the loose areas instead of the whole boat if it’s not all gone loose.
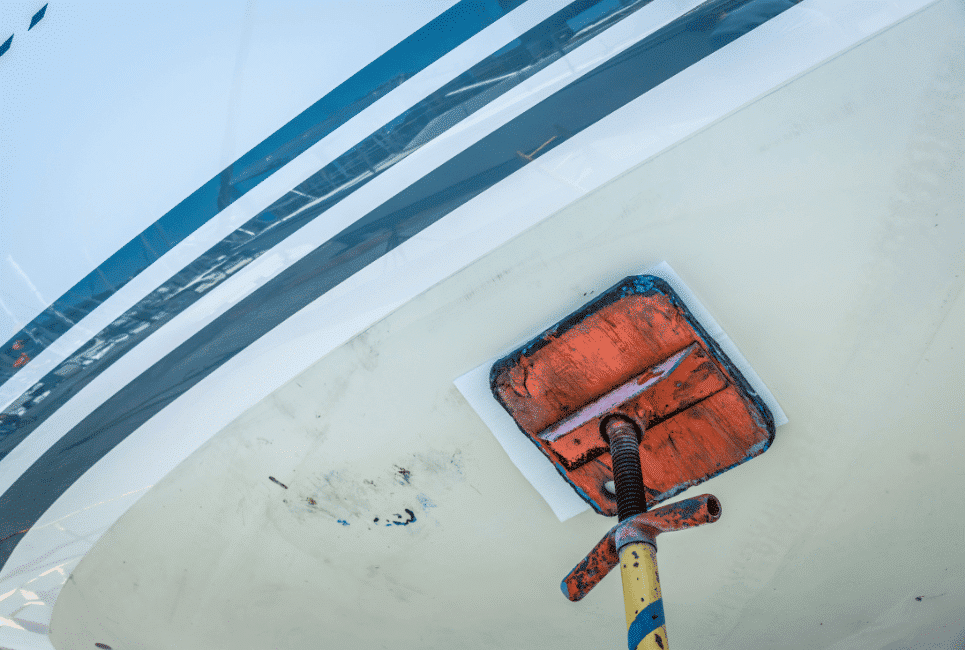
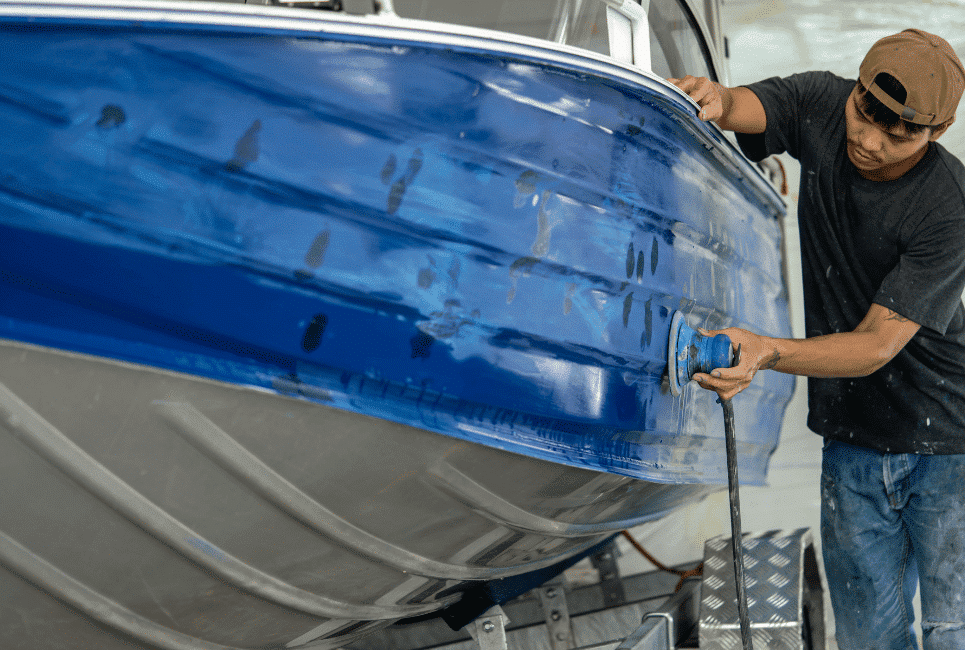
Sand the Bottom
Sand the bottom with 80-grit paper to rough up the surface for paint adhesion. Whether it’s bare fiberglass or old paint, the surface needs to be scratched up a little. Your goal isn’t to remove all the old paint unless it’s falling off already, but only to make a surface for the new paint.
A random orbital or rotary sander will make quick work of the task, but do not use a belt sander. Many yards do not allow sanding at all, or require the use of a self-contained system, with a vacuum connected to the sander to trap all the dust. Check with your yard before you start.
Sanding old bottom paint is a messy job and requires serious personal protection from the toxins in the paint. Wear a full Tyvek body suit, eye protection, gloves, and a double-canister respirator. A simple mask is not enough protection.
Clean After Sanding
Clean and wipe down the bottom after sanding to remove all the dust and accumulated dirt. You do not want to paint over sanding dust.
Mask
Once your sanding is complete, carefully mask and tape off the waterline and all underwater fittings you don’t want to paint. Do not apply bottom paint to propellers, shafts, zincs, or external transducers. There is a special transducer paint that you apply separately.
Choose the right tape – most masking tapes aren’t supposed to stay on long and may get difficult to remove if you leave them on for more than a couple of days.
Prime, if needed
If you are painting a new boat or over incompatible paint, apply a coat of primer before moving on. Follow the manufacturer’s recommendations on drying time and sanding.
Paint the Bottom
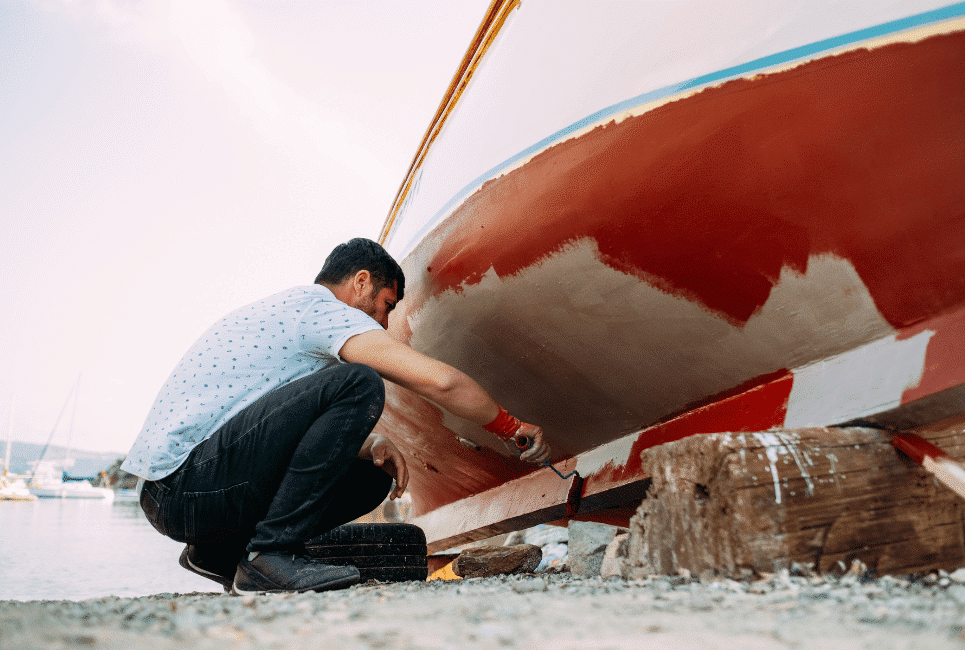
More than half the hard, messy work is done, and it’s time to paint. Choose a day that is dry, not too windy, and moderate temperature. Too hot, and the paint will thicken and be hard to spread, too cold and it will dry much too slowly.
Stir the paint thoroughly. If your supplier can’t stir for you within a few days or use, get a stirring blade for a power drill and mix the paint, taking care to pull all the heavy sediment up from the bottom until the mixture is uniform.
Put mixed paint in the pan, wet your roller, and apply to the bottom, covering thoroughly and leaving no skips. If you see skipped spots, put more paint on your roller to start, and reload more frequently.
Work quickly if you can, covering the entire boat. Then take a brush and cut in the areas the brush couldn’t reach.
When applying multiple coats, follow the directions for the proper amount of drying time before you put on a new coat. Make sure you leave a little paint for the spots under the hardstands and the bottom of the keel.
When you’ve finished and the paint is dry, have the yard move the hard stands and paint the areas beneath them, and paint the bottom of the keel the next time you lift the boat.
Read also: