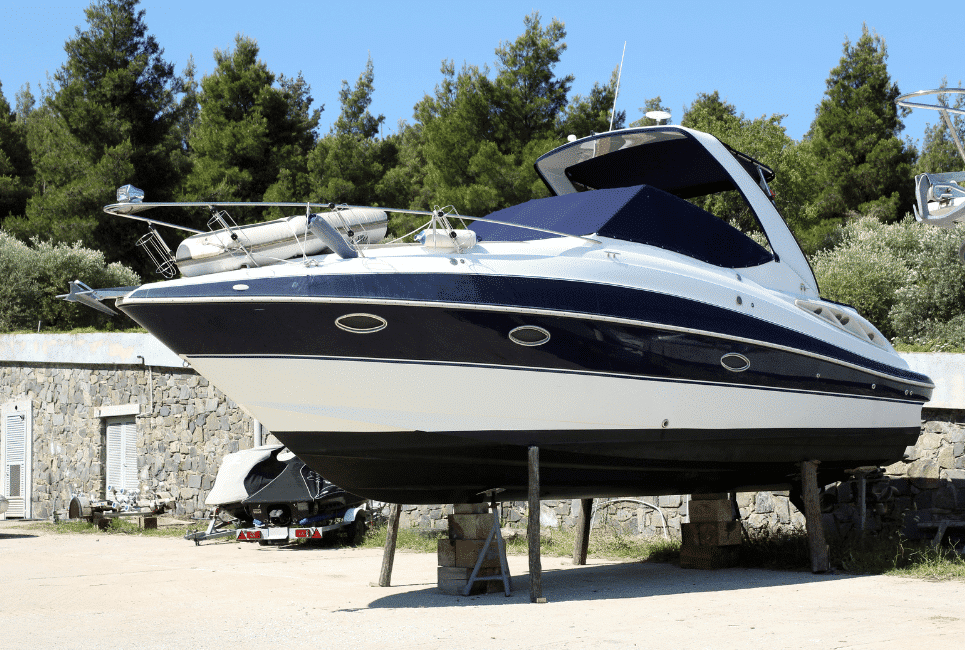
There’s hardly a prettier sight than your boat with a shiny hull. The sunlight and water reflect and sparkle, highlighting her lines, beauty, and color like nothing else. But getting your beauty that shined up? That high-shine finish isn’t easy if your boat is very dirty or oxidized.
With some care, the right tools, and a bit of elbow grease, you can bring back the shine everyone in the marine stops to check out. Yes, it’s a lot of work, especially if you have a big boat. But with the right tools and approach, you can make your boat glow.
You might also be interested in: A Guide to Winterizing Your Pontoon Boat
Types of Shining and Polishing
Fiberglass boats have an outer coating of gelcoat – thickened resin that’s clear on its own, but with added pigment to color the boat. It’s a bit like the candy shell on an M&M – hard, colorful, and it protects the inner layer of material from outside hazards like water and ultraviolet light.
Gelcoat doesn’t add strength to the hull, but it’s a barrier over composite materials that add strength but don’t like exposure to UV light and moisture.
Most boats are built in a smooth, faired female mold which is coated with mold-release wax. The first step is spraying an even layer of liquid gelcoat into the mold. Then they lay up the rest of the fiberglass outside in.
Gelcoat is not a paint or an applied coating. It’s the first layer of the boat and a chemically bonded part of the hull.
When they crack the boat out of the mold, the outside layer is the shiny gelcoat. It’s usually .5mm to .8mm thick (about .02 to .03 inches), which is several times thicker than a coat of paint. It’s a thin coating, but it’s harder than paint and will last decades with proper care.
It’s important to notice that gelcoat, doesn’t replace a good lawyer of paint, so part of good maintenance practice is a proper lawyer of paint.
But First, Why Your Boat Doesn’t Shine
There are a few reasons a boat may not shine up when you give it a good cleaning with soap and water. Usually, it’s built-up dirt, but older boats may have oxidation, irregularities or scratches in the gelcoat, or other problems you need to address.
Also read: Guide to Buying a Used Sailboat
Though gelcoat protects composite fiberglass, it’s still relatively soft and vulnerable compared to the hazards thrown at it.
Gelcoat is also more porous than paint, so it picks up more dirt and contaminants than a paint finish, even though it’s thicker and doesn’t peel. And while it’s much more resistant to UV light and water than the unprotected composite hull, it isn’t 100% impervious.
Over time, sunlight and exposure to water and dirt can lead to oxygenation and discoloring.
In addition, everything from minute changes in hull size, stress on deck fittings and holes through the gelcoat, or minor impacts from dropped tools or bumped docks can lead to cracks and crazing, which only makes water and UV damage easier.
The reasons your gelcoat isn’t shining affect how you have to clean and polish it, and what tools and approaches you may need to get the job done right.
Polishing Your Boat
Polishing gelcoat is the least aggressive treatment for boats that have little oxidation or buildup. Often a “one step” product will polish the hull and leave a coat of wax, and is much faster than multiple steps.
Compounding/Cutting
For boats with more buildup and heavier oxidation, you’ll need a more aggressive polishing with a compounding or “cutting” compound. This will have a fine, abrasive grit suspended in the compound. Polishing with a cutting compound will rub through and remove oxidation and a rough surface on the gelcoat, smoothing it down and restoring shine.
Wet Sanding the Surface
Wet sanding with very fine sandpaper is for a boat that needs full restoration because the gelcoat is heavily oxidized and there may be cracks and visible wear on the surface of the gelcoat. It’s a more extreme measure you will not need on a regularly maintained hull.
Usually, wet sanding is followed by a compounding step that will remove any of the fine, nearly invisible scratches left by the sanding.
Applying a Layer of Wax
After any polishing or compounding, the boat needs at least one good layer of wax. This repels water and gives UV protection, and is a key part of protecting your boat from more oxidation and making your cleanup and polishing easier next time. If your boat doesn’t require polishing because you’ve kept up the shine, you can jump right to the wax to protect it.
Power vs. Hand Buffing
Any boat can be hand polished with rags, pads, and cloth. But practically speaking, larger boats take a lot of time to hand polish. There are a variety of power polishing tools to speed up your work, and we’ll get into more detail about picking a good one later.
There’s no actual difference to the end finish of the boat, and even with a power buffer/polisher, you’ll need to do some hand polishing in the nooks, crannies, and corners the buffing pad can’t reach.
Using the wrong type of power buffer or misusing it carries risks, so pick the right tools and learn how to use them.
A Boat Buyers Guide to Buffing & Polishing
If your boat doesn’t have a lot of oxidation and buildup, you won’t need to do so much buffing, cutting, and compounding. And that’s a good thing because it’s a lot of work. Check at each step of the process if your boat starts out rough. You may need to go back and repeat some steps or focus on a few key areas with heavy staining or buildup.
Wash, de-wax, and de-grease the gelcoat
Your first step is a thorough cleaning of the boat from stem to stern. You need to get all the salt, oils, stains, and old wax off the hull. Start with a detergent boat soap and give it a good scrub and rinse.
You can’t tell what’s dirt and what’s a difficult stain until you give it a cleaning to get rid of any debris, dirt, and mold. You do not want to grind any of this stuff into the hull when you polish.
When you find stains on the hull, scrub them aggressively. If that doesn’t work, try to determine what the stain is and how best to remove it. Products like Davis FSR are fiberglass-safe, non-scratching removers for rust and metal stains.
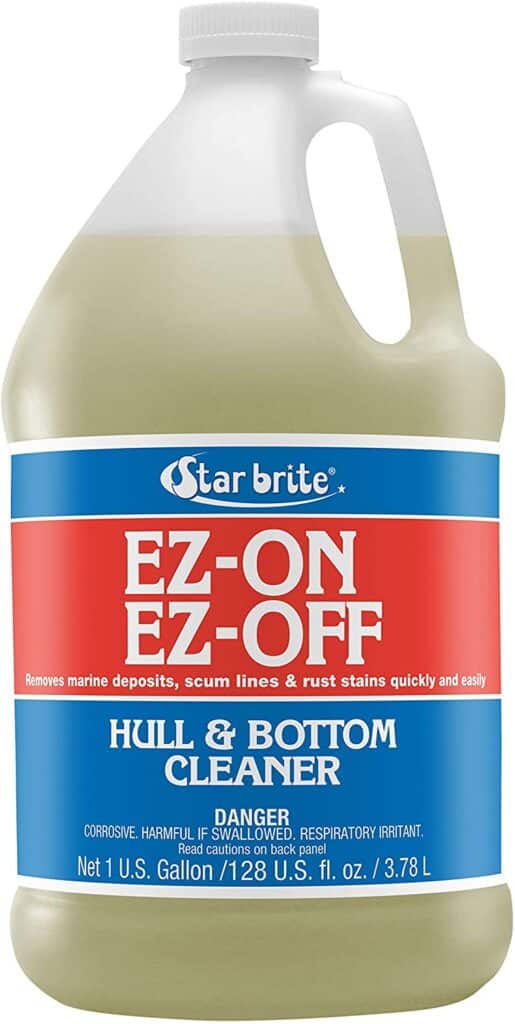
For other stains, there is an array of products like MaryKate ON and OFF, Starbrite EZ-ON EZ-OFF, or Bio-Kleen M01609. Take care picking one of these, because many are acid based and aren’t all safe for use while the boat is in the water, or with bare skin exposed.
They can also harm non-fiberglass parts of the boat, so you’ll need to be careful about putting them on wood or metal, and make sure you wear good gloves.
Don’t move past cleaning if you’ve got stains on your boat. You might buff them out, but you might also end up sealing them under a nice coat of wax.
Finally, make sure you’ve got all the old wax and grease off the hull before you polish it. Give the hull a wipe-down with MEK (Methyl Ethyl Ketone) or acetone(1). Be careful to avoid boat graphics and painted areas, and wear respiratory protection if you don’t have good ventilation, goggles, and gloves. Use clean rags and turn them when they discolor, then discard them.
Buff, Polish, and Cut
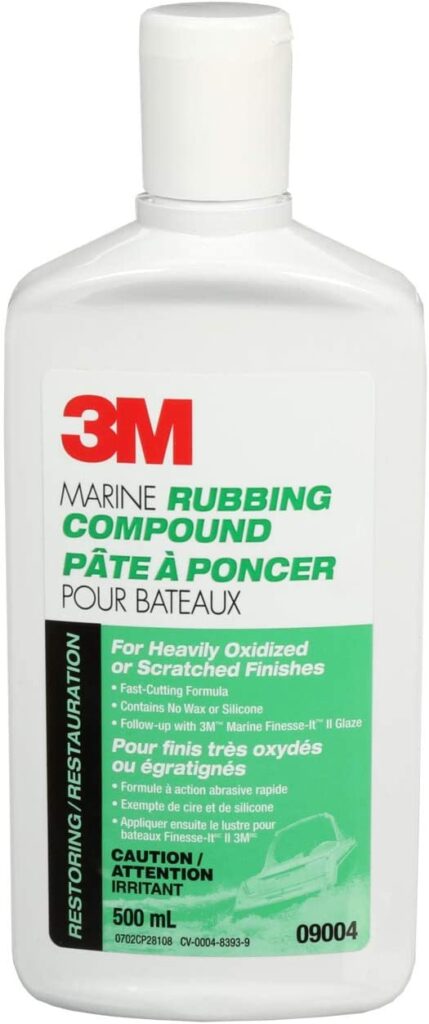
With a lot of oxidation, you may need to do an initial buff with a stronger cutting compound. Manufacturers like 3M, Meguiar’s, and Star Brite offer compounds with different levels of coarseness for boats that need different levels of rubbing. Check the product line you prefer for a suitable compound for the condition of your gelcoat. A light polish has no grit in it.
Before you start on the whole boat with a compound you’ve never used before, pick an isolated, less visible place on the hull to do a small test. Follow the directions exactly and do a tiny spot to make sure it comes out the way you expect and doesn’t scratch or discolor your gelcoat.
To work effectively, the rubbing compound must be wet. Work in small patches on the hull, about two feet square. Do not coat a section of hull that’s larger than you can rub before it dries; you won’t have excellent results. If the compound dries before you finish buffing, you can dampen the pad and try working a smaller patch(2).
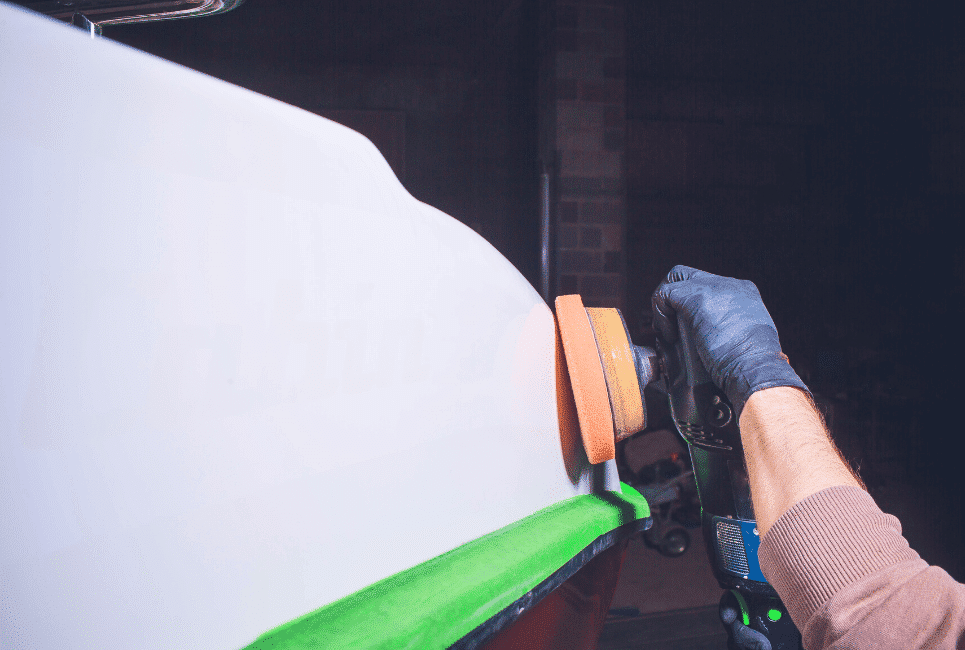
If your boat is small, you can do your buffing and polishing by hand, but most use a power buffer to save time. You’ll still need to do some hand rubbing because a round pad can’t get into tight corners or areas restricted by hardware and fittings.
Mask off trim and hardware with tape near the edges of the gelcoat if you’ll be power buffing close to the edge. You don’t want to scratch stainless steel or paint with the abrasive compound.
Maintain even, firm pressure on the buffer while you work, and don’t overwork an area or tilt the buffer.
Final waxing
Your last step is a good coat of wax or two to protect the hard-won shine you buffed and rubbed onto the boat. Like compounding and cutting, work in small squares, but overlap them a little if you need to so you don’t have skips. If you see uneven finishing, don’t be afraid to re-apply.
When applying wax, you’re not polishing with a liquid, you’re letting the wax dry slightly then polishing off the dried glaze to leave a shiny finish. Use a cloth or flat pad for an even application. You’ll also get better results if you apply the wax on an overcast day or out of the heat of the day.
Power Buffing Tips
Power buffing saves time, effort, and sore arms. But if you do it wrong, you can make a mess of things and even damage the finish of your boat. You will need to take some care to pick the right buffing tool and figure out the best technique to get a good finish.
If you’re also thinking of protecting the surface of the boat, take a look at: The 5 Best Boat Carpets – Pros, Cons & Reviews
The Right Tools for the Job
Boat care pros often use a high-speed rotary buffer with a pad on it, but these are easy to misuse and you can damage your gelcoat. They generate more heat when buffing, and that’s the reason they’re better for heavily oxidized hulls that need serious buffing and cutting. An orbital buffer moves around an off-center point, with a buffing motion that isn’t circular and moves slower.
Rotary buffers are harder to use, as the circular motion can make them difficult to control. And if you put too much pressure, especially on an edge of the pad, you can burn or damage the gelcoat and leave a mark that is hard to remove.
You can also make marks by running the polisher in one place too long, so keep it moving. But they are far more effective in removing oxidation in the hands of a skilled operator, and faster on big jobs.
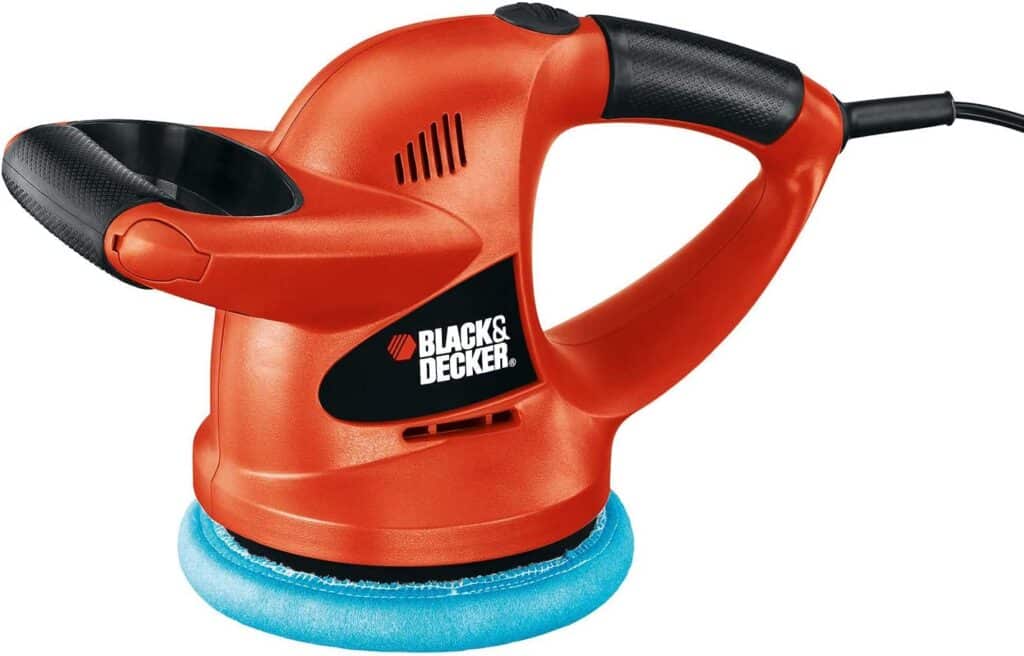
Orbital buffers are easier to use and will handle most routine tasks. If your hull is in good shape and only needs waxing, an orbital buffer may be the best option. You’re less likely to make a mistake or lose control of it, and they’re great for wax and fine for very light buildup.
You want a tool with variable speed controls, to help with easy startups and getting the right buffing speed for the job at hand. Compounding takes higher speeds than waxing.
Cordless tools are available, but you will need spare batteries for larger projects. Whether corded or cordless, don’t drop them in the water. A lanyard can prevent this, but keep it clear of the moving parts.
Also read: The 6 Best Marine Battery Chargers & How to Choose the Right One
Steady and Even Pressure
Compounding and rubbing take more pressure than waxing. Even pressure with a flat pad is critical for success with any type of buffer. Putting a moving tool on a hull is a good way to lose control of the tool, so unless you’re really comfortable, place the tool flat on the hull when it’s off, then start it up.
As you do the job, experiment to get the right pressure. You don’t want to start out full-strength, but you’ll waste a lot of time and compound if you’re just tickling the surface.
Working dockside, turn the boat around in the slip to get to the far side and adjust the lines to bring the part of the boat you’re working on as close to the dock as possible. It’s hard enough to get consistent pressure even without stretching your arms over several feet of water while trying not to fall in.
As you work, you’ll build up compound and wax on the pads. Run the pad against a wooden scraper to remove buildup, or if they get too dirty, clean them with soap and water and spin them to dry. It’s a dirty job, but it will come better if you work with cleaner pads.
Other Tools You May Need
Most of what you need you can get online or from your local chandlery. Get your supplies together before you start so you don’t have to stop and run off to pick up another bottle of compound or more rags. If you have extra consumables, don’t worry. You’ll get to use them in a few months.
Consumables – Pads, rags, compounds, and cleaning
- Buffing pads come in a variety of materials including pure wool, acrylic wool blends, and foam pads. Even foam pads have different degrees of roughness. Use wool for serious compounding and waxing, blends for polishing, and foam for polishing and wax application(3).
- Rubbing and polishing compound. Pick the right coarseness for your job, and consider more than one type for multiple applications on seriously oxidized hulls.
- Boat wax. For light polishing needs, a one-step polish and wax may do the job.
- Clean, dry cloth and rags. You can use old clothes, but make sure it’s absorbent, lint-free cloth with no snaps, zips, or buttons like t-shirts.
- Microfiber cloths are useful for cleaning up compounding residue without scratching.
- Boat soap and water for cleaning the hull.
- MEK or acetone for de-greasing and de-waxing.
Tools
- Buffing pads and rags to get areas you can’t reach with power tools. You can wash and reuse good-quality pads and buffing cloths.
- Rotary and/or dual-action orbital buffer. You don’t need both unless you’ve got a big, tough job.
- Bucket, brush, and sponges for hull cleaning.
You might also be interested in: Best Boat Storage Ideas