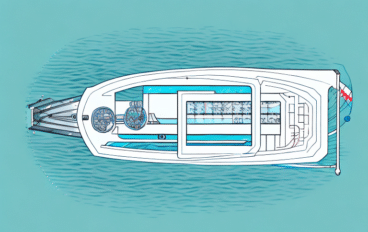
A Guide to Winterizing Your Pontoon Boat (by a Boating Expert)
Winterizing your boat is not technically challenging, and it doesn’t require any expensive tools. You can do it yourself on a weekend day in the fall. While it’s sad to put your boat away for the winter, if you do it yourself, you’ll know your boat is put away properly.
There’s something nice about knowing your boat will be safe over the winter and that you’ll have an easy re-commissioning in the spring.
Experienced boat owners and professionals know the time and money-saving steps, and we’ve put some of them together into a step-by-step guide for you to winterize your boat in a day and spend an easy offseason with a safe boat.
Location matters

When you’re planning your winterization, your location matters in two ways.
- Where you live is critical; winterizing a boat for a mild South Carolina winter has very different considerations from storage in Minnesota, where winters can be very harsh.
- Where you store your boat affects your winterizing choices, from the type of boat cover you use to how you secure the boat.
As we go through each step, consider how it applies to your situation. Storing batteries, supporting the boat cover, securing your trailer, and removing electronics are all affected by the storage site.
Whether it will be in your garage, a barn on your property, a lot behind your buddy’s business, or an indoor climate-controlled building, you’ll need to tailor the process to your needs.
If you don’t live somewhere with a serious freezing risk or are storing in a heated building, you can skip the antifreeze steps.
You might also be interested in: A Guide to Restoring a Fiberglass Boat
Tools and Supplies
Winterizing isn’t a tool-intensive procedure, but you will need a few basic tools and one or two specialized but inexpensive ones. Keep your owner’s manual handy, and read over the winterization recommendations every fall. You don’t want to forget any unusual steps.
For most boats you will need
- Wrenches and screwdrivers in sizes for your boat’s connections, including a spark plug socket and any nuts or bolts on battery terminals.
- Engine “earmuffs” or “flush muffs” to cover the water intakes when running the engine.
- Lower unit oil fill. This may be a hose with a threaded end or a small funnel.
- Garden hose is attached to a spigot.
- Buffer or polishing tool.
- Waste oil pan.
- Rags.
Supplies needed may include
- Engine fogging oil.
- Engine oil and a clean filter.
- Lower unit oil.
- Propylene glycol-based Marine/RV antifreeze.
- Polishing and waxing compounds.
Steps to Winterize Your Pontoon Boat
The basic steps are the same for every boat, though you’ll want to refer to your owner’s manual for any specific instructions about your engine, drain plugs, and other equipment on your boat.
The risks to your boat in winter are freezing, water intrusion, condensation, mold, and mildew. Engine blocks can crack, plumbing might split, and you can lose cushions and gear to mold(1). And dirty buildup is a big inconvenience in the spring.
The basic steps to winterize any boat aim at stopping all of those.
- Remove summer gear and equipment – life jackets, towable floats and tubes, personal equipment, and small electronics.
- Clean the boat inside and out.
- Winterize the engine, including changing the engine and lower unit oil, flushing, and fogging.
- Store the battery.
- Grease, lubricate, and protect moving parts.
- Fill antifreeze where needed in any onboard systems or engines.
- Cover the boat.
- Secure the boat and trailer.
With these steps, you’ve assured yourself of easier re-commissioning. The specifics of each step will vary for your boat and equipment, and you should always consult the owner’s manual for any special requirements.
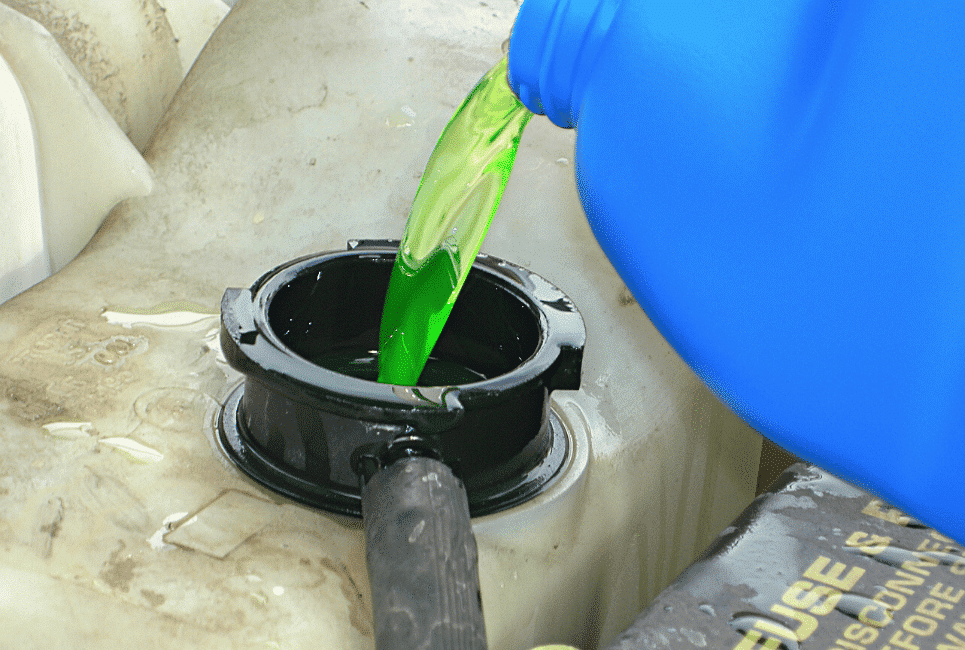
IMPORTANT NOTE: references to “anti-freeze” are for a propylene glycol-based Marine/RV antifreeze. It will be labeled as non-toxic and safe for marine use. It’s usually pink, but antifreeze with higher levels of protection may be green, purple, or blue.
Do not, under any circumstances, use engine coolant. Engine coolant is frequently called “antifreeze” because it offers freeze protection to engines, but it is highly toxic and very dangerous to spill in the water or your driveway.
Remove Equipment
Personal flotation, water toys, and anything that got wet over the summer can trap and hold moisture, and moisture leads to mildew and dirt buildup.
Towels, clothing, and other personal gear will get musty. Mildew can grow under anything on the boat, or your things can get wrecked by humidity under a winter cover. So take everything off you can and store it indoors in a dry area.
Also, remove your boat canvas and store it inside, if you can. It’s mildew resistant, but it will still fare better in your attic or basement than in the cold and damp.
Take off any easily removed electronics and handheld devices. If it’s relatively easy for you to remove for the winter, it will be much easier for thieves who don’t care about breaking things and cutting cables.
If you have a portable toilet, you can leave it on the boat if you empty it and give it a thorough cleaning, and add a little antifreeze to the bowl and tank.
Fall Cleaning
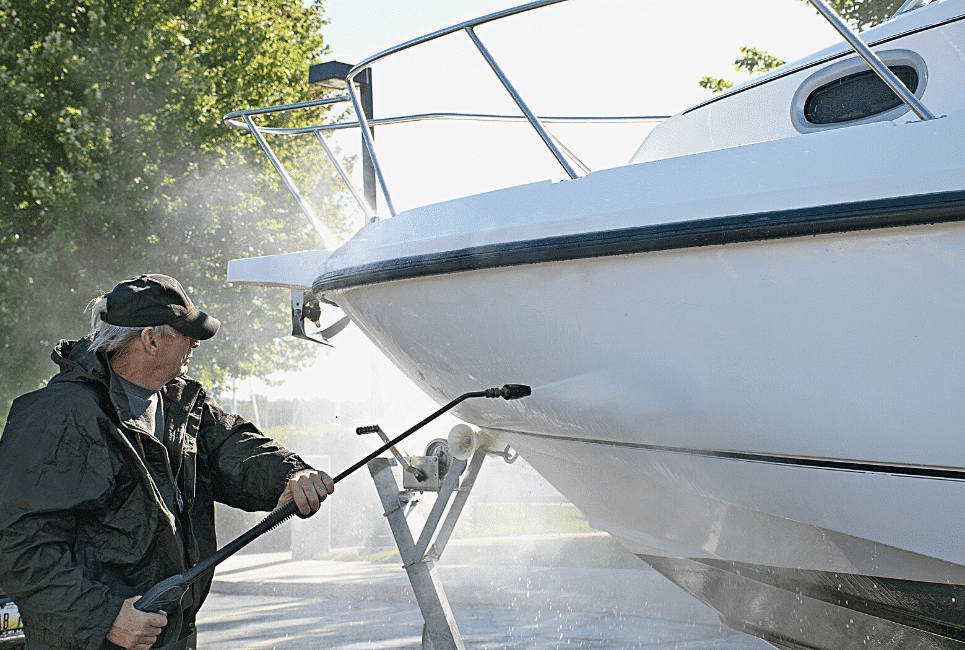
Don’t put a boat away dirty for the winter. Give the topsides and insides a thorough cleaning, opening compartments and lids to air and dry them out when you’re done. A polish and wax in the fall will keep you through the winter and leave your boat ready for spring.
Cleaning under the waterline when you haul the boat keeps built-up crud and slime from hardening over the winter. It’s easiest to get off before it dries, so this should be one of your first steps when you get the boat onto the trainer. It’s best to use a brush or pressure water if you don’t have bottom paint.
Be more gentle if you paint your bottom, you don’t want to scrub off good paint.
Winterize the Engine
Most pontoon boats have outboard engines, so if you have a larger one with inboard and an outdrive, your steps will differ slightly. When winterizing an engine, I prefer to do it all at once. The order of operations is important since you want to run an engine before an oil change to warm it up, and not after you’ve fogged it.
- Clean the engine on the outside and under the cowl. Wipe off any salt, slime or buildup.
- Flush the engine with fresh water. Check your manual for additional flushing instructions. Some engines have a special port for attaching a flush hose and instructions for flushing with the engine off. Otherwise, use “earmuffs” and run the engine for a few minutes to warm it up and flush out the cooling jackets. If you boat in saltwater, brackish water, or water heavy with silt and deposits, a thorough freshwater rinse is a must.
- Change the engine oil and filter. Drain the old oil into a pan and discard safely, then close the plug and put a new filter on. Fill with oil.
- Change the lower unit oil. Open the bottom drain plug and drain into a pan, then close the plug and fill it with gear oil from the top port. Do not use the same oil you used in the engine. Lower unit oil is heavier and thicker; check your manual for recommended weights and ratings.
- Start the engine again with the cowl open. Spray a tiny bit of fogging oil into the carburetor. The engine will stall out, so don’t spray too much or you will stop it. Repeat a few times until you have several shots of fogging oil sucked in the carburetor.
- Remove the spark plugs and spray fogging oil into each socket. Briefly turn the engine to spread the oil, then put another small spray in each socket and replace the plugs, torquing them properly. Leave the ignition wires off until spring.
- Optional step – fog the outside engine block with more oil to lock out moisture buildup.
For inboard engines, after step four you’ll need to put some antifreeze into the raw water intake lines and drain the engine coolant and replace it with antifreeze. Check your engine manual for instructions on draining the block and winterizing.
Drain fuel tanks completely, or fill them at least 3/4 full and add a stabilizer. Space in a tank leaves room for water to condense and spoil your fuel. If you don’t add a stabilizer, the fuel will go bad over the winter.
Store the Battery
You can store your batteries on the boat, but they will usually do better off the boat in more protected storage(2). Fully charge batteries, and attach a trickle charger if you have one. You can store batteries with a full charge indoors for several months without trickle charging, but it doesn’t hurt to top them up monthly.
Lead-acid batteries have water in them and may be at risk of freezing. A fully charged battery has a much lower freezing point than a discharged battery.
If you plan to leave your batteries outdoors in your boat, charge the batteries and disconnect them from all electrical connections, and put a trickle charger on them. If you don’t, they’ll self-discharge over the winter and may be vulnerable to a late-season freeze.
Grease and Protect Moving Parts
All the moving parts and cables should be greased. Not only is this a good maintenance practice, it protects them from moisture and condensation. Check your owner’s manual for specific grease points on steering and throttle cables and controls, tilt tubes, and trim gear.
While you’ve got the grease gun out and your hands are dirty, if your trailer has any grease points it’s a good time to give them a fresh squeeze, too.
Add Antifreeze
If your boat has any household systems such as freshwater tanks, live wells, or anything else that circulates or holds water, drain them and add antifreeze. You don’t need to fill the whole tank but get enough antifreeze in to fill any feeds, drains, and pumps to displace any freshwater.
If you have an inboard engine, see the section on winterizing and check your owner’s manual for specific instructions on antifreeze.
Cover the Boat
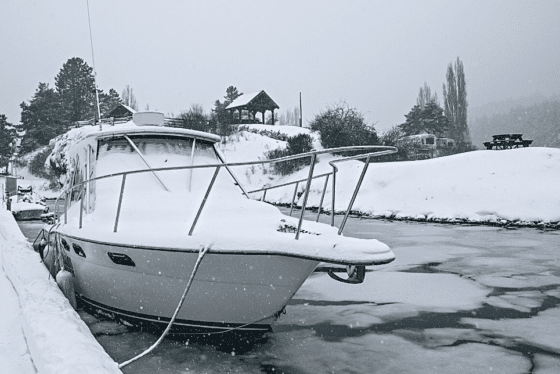
If you have a custom-fit cover for your boat and you live in an area with mild winters, putting the cover on your boat may be all it takes. But if you store the boat outside in an area with snow, you have more to do.
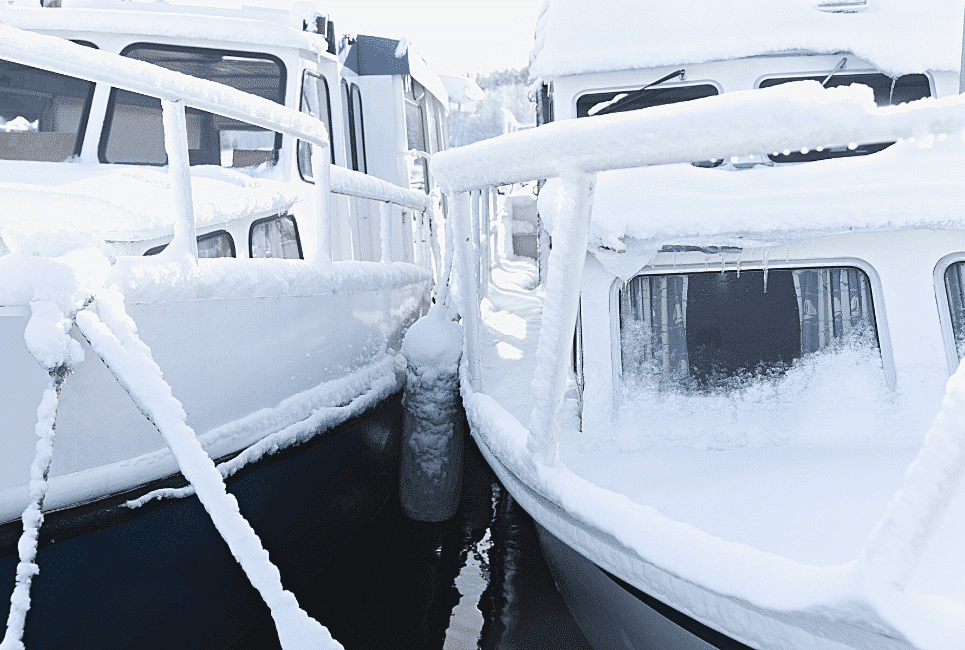
Your winter cover keeps out rain, moisture, and snow. It should be strong enough to handle a good snowfall because if it collapses it will dump a load of snow and mess in your boat and the cover may get damaged.
For the harshest winters, consider a shrink wrap cover supported by framing, or put supports under your permanent cover. Make sure there’s a peak, with sloped sides and no dips where snow can accumulate. If you use tarpaulins, tie them down tight and support them with framing to prevent flat spots.
Whatever your solution, it’s important to get air circulation under the cover(3). Circulating air keeps mildew down and reduces condensation. Shrinkwrap covers have flaps or slits, and canvas covers have space for airflow. Whatever you do, make sure it is watertight from the top, but still allows the boat to breathe.
Lock it Up Tight
All this preparation isn’t much good if someone backs a truck up to your trailer and makes off with your boat while you’re not home. While you can’t lock up pontoon boats to keep people off them, you can secure your trailer.
A hitch lock can prevent this, as can wheel locks, or storing the boat in a locked building. If that’s not an option, you can always jack the trailer up on blocks and take one or more wheels off.
Check your boat periodically if it’s stored out of regular sight. While you should do this after any major snowfall or storm to make sure the cover is intact, a visited boat is less likely to be targeted by thieves than one that looks abandoned for the season.
Set Yourself up for an Easy Spring
The first aim of winterizing your boat is to protect it. The bonus is that a properly winterized boat is much easier to recommission in the spring. Your boat will come out of the cover clean and lubricated, the engine oil is changed, and all you will need to do is give it a quick hose off and load the equipment back on. You’ll be back on the water in no time. So take some time to do it right, and when you do it yourself, you know it will be.
You might also be interested in: Guide to Buying a Used Sailboat